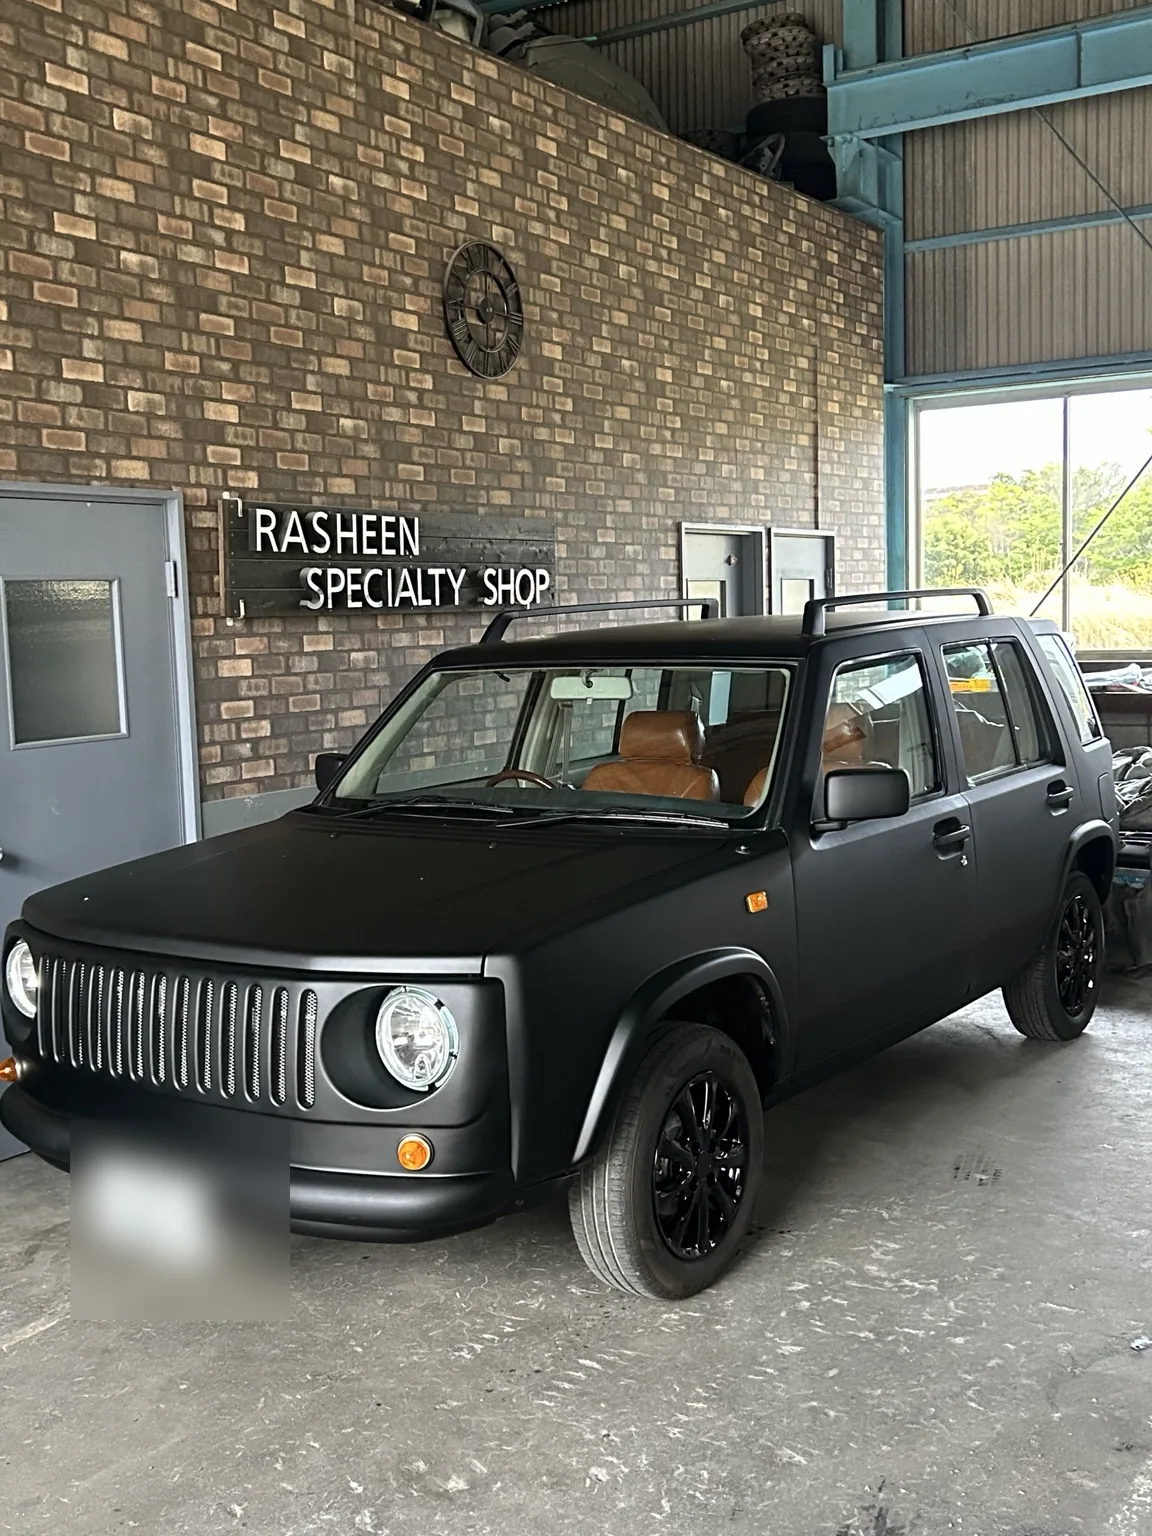
Classic Japanese 4x4 Restoration: Engine Out and Ready for the Next Chapter
Every serious restoration reaches a stage where the vehicle looks further from finished before it starts moving closer to completion. For this classic Japanese 4x4, that stage has now arrived.
With the front end stripped down and the engine removed from the bay, the project has moved into one of the most important phases of the rebuild. This is where the real foundation is laid: cleaning, inspecting, refreshing, and preparing each area before the vehicle is assembled again with greater confidence and care.
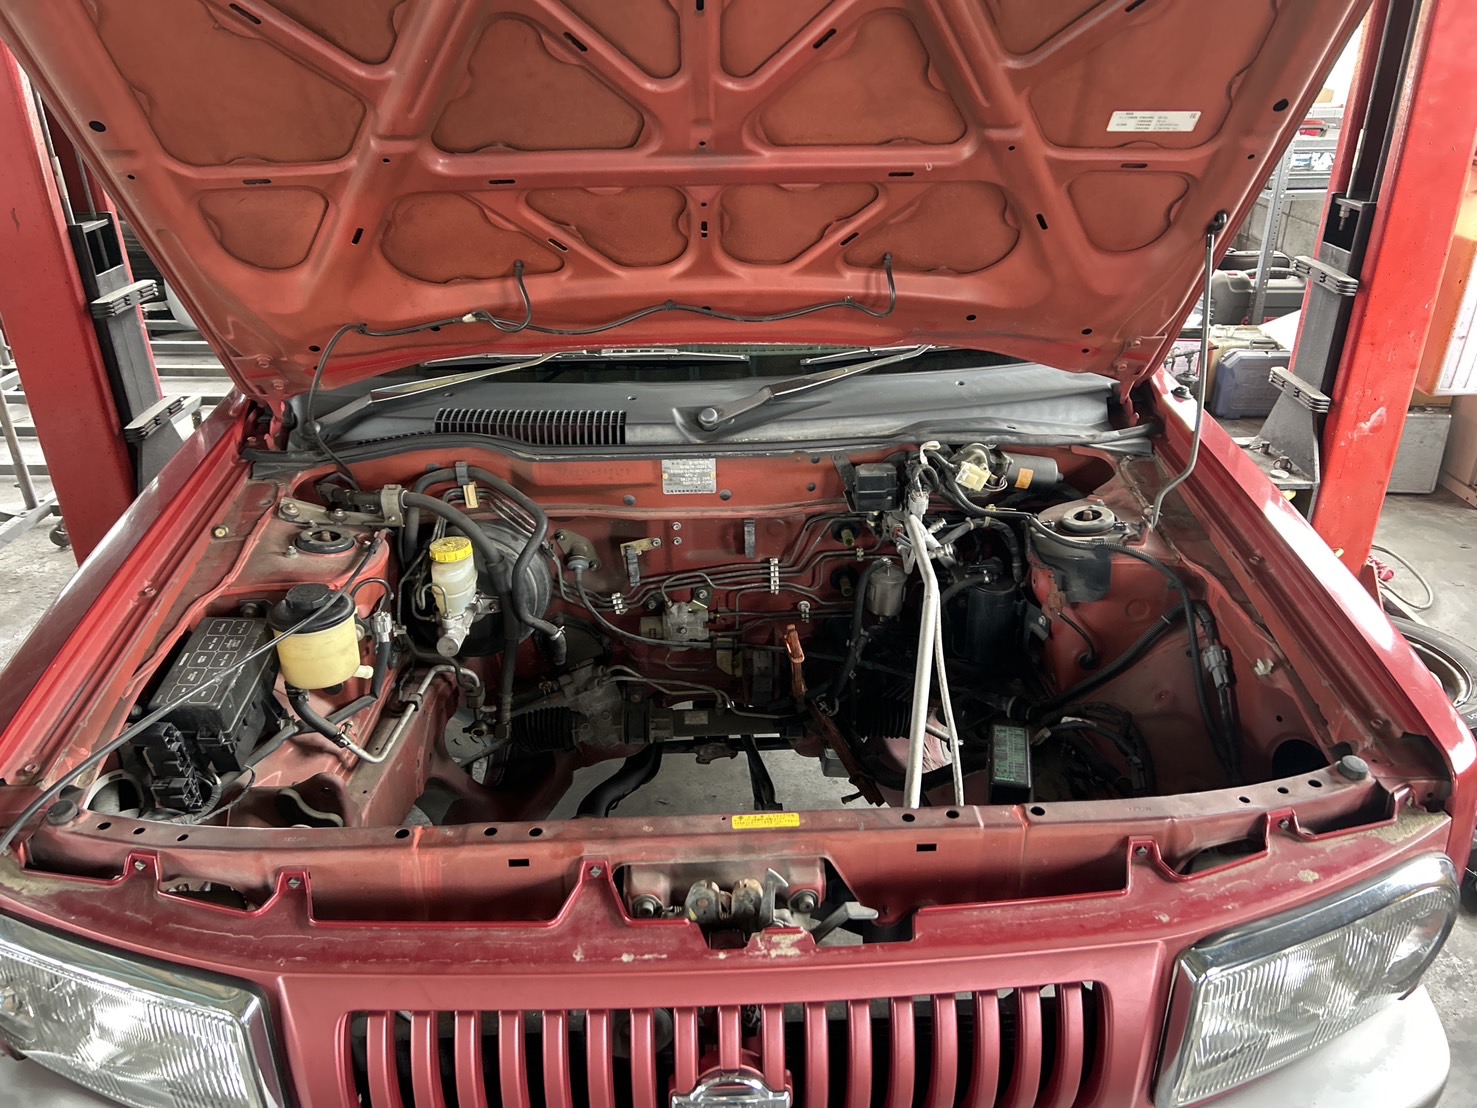
The engine bay after removal, giving full access for inspection, cleaning, and preparation.
⸻
Why We Removed the Engine
Removing the engine is not simply about creating space. It gives us proper access to the engine bay, firewall, brake lines, wiring, mounts, and surrounding components that are normally hidden or difficult to reach.
On an older 4x4, this stage is especially important. Years of heat, vibration, dust, oil, and use can leave behind small issues that are easy to miss while everything remains assembled.
With the engine out, we can assess the bay more accurately and plan the next steps with a clearer understanding of the vehicle’s condition.
⸻
Engine Bay Inspection and Cleanup
The first photo shows the engine bay with the engine already removed. It gives a clear view of the firewall, brake components, inner fenders, radiator-support area, and front structure.
At this stage, the focus is preparation. Before anything is reinstalled, the bay needs to be cleaned, inspected, and refreshed where necessary.
Key areas being checked include:
• Engine mounts and surrounding brackets
• Brake lines and master cylinder area
• Wiring condition and routing
• Firewall condition
• Front support structure
• Cooling-system mounting points
• Rust, cracks, and old repair marks
A clean, orderly engine bay does more than improve appearance. It also makes future maintenance easier and supports long-term reliability.
⸻
Front-End Disassembly
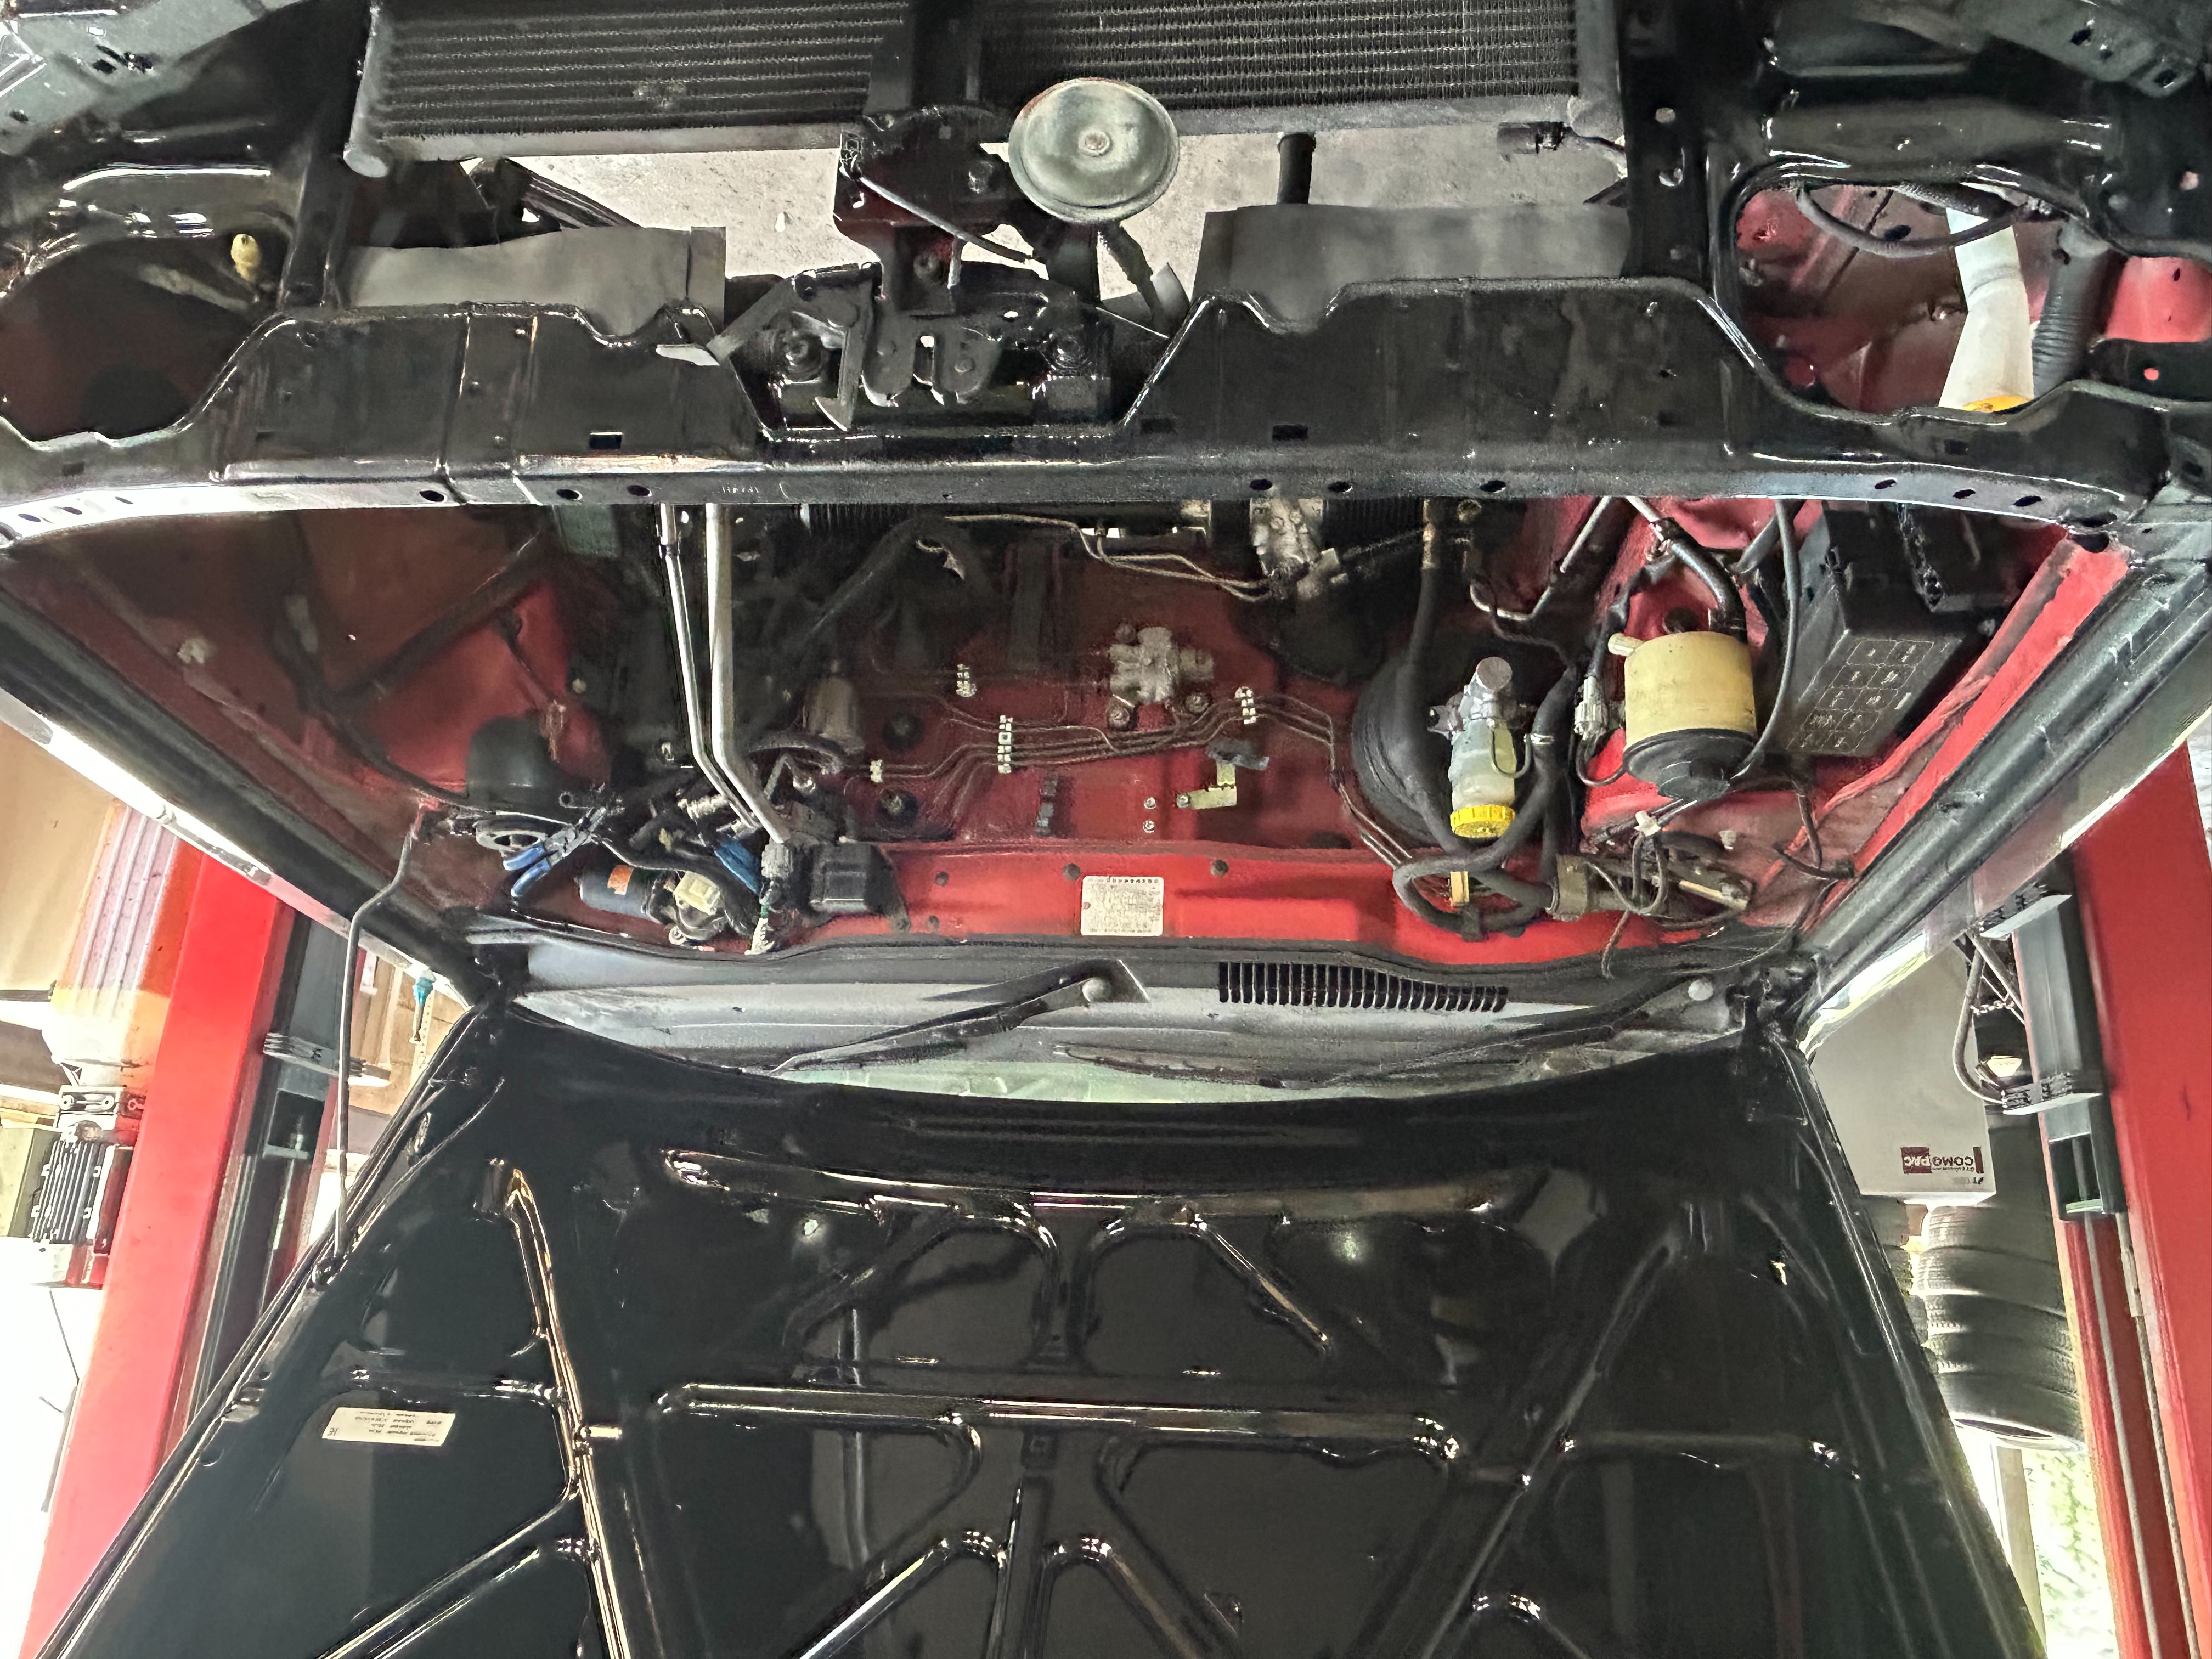
The front end has been stripped down, opening access to the radiator support, cooling-system area, and front chassis section.
The second photo shows the vehicle from the front with the engine removed and the front-end components taken off. This gives far better access to the chassis, radiator support, cooling-system area, wiring, and mounting points.
This is one of the most important stages of the build because it allows problems to be addressed before the vehicle is reassembled. Once the engine, radiator, lights, grille, and body panels are back in place, access becomes much more limited.
Taking the time at this stage helps ensure a cleaner, safer, and more reliable result.
⸻
Preparing the Engine for Reinstallation
Beside the vehicle, the engine has already been removed and set aside for inspection and preparation. This allows us to check external components, clean the block, inspect gaskets and seals, and replace worn parts before the engine returns to the bay.
Depending on the final build plan, this stage may include:
• Replacing worn seals and gaskets
• Cleaning and painting components
• Checking mounts and brackets
• Inspecting the exhaust side
• Refreshing cooling system parts
• Organizing wiring and hoses
• Preparing the engine for a cleaner installation
A proper engine-out refresh is always worth the extra effort. Many items are far easier to address at this stage than after the engine is back in place.
⸻
The Goal of This Build
The goal is not simply to reassemble the vehicle. The goal is to rebuild it properly.
This classic 4x4 deserves a clean engine bay, a dependable drivetrain, and a foundation that can be enjoyed for years to come. Whether it becomes a street cruiser, a weekend adventure vehicle, or a more off-road-focused build, the underlying condition needs to be right.
Restoration work depends on patience. Every bracket, bolt, hose, and panel matters. That attention to detail is what distinguishes a proper restoration from a simple repair.
⸻
What Comes Next
The next stage will focus on cleaning the bay, inspecting the engine and surrounding components, and preparing everything for reassembly. Once that work is complete, the project can move into one of the most exciting parts of the process: reinstalling the engine and bringing the vehicle one step closer to running again.
There is still a great deal of work ahead, but this is exactly the kind of progress that gives a restoration project real meaning.
Stay tuned for the next update as this classic Japanese 4x4 continues its return to life.